Most watercolour painters have experienced the frustration of their paper buckling causing the paint to flow everywhere except where they want it to go. Stretching watercolour paper makes it stay flat for the whole painting process. The experience of painting on watercolour paper that stays perfectly taut and flat is a revelation to painters who have always fought with their paper.
If you have wanted to stretch your watercolour paper but thought it was too hard or too time consuming this might help you see that it is pretty simple. If you have tried but been unsuccessful this might help you see the few simple rules that will lead to successful stretching.
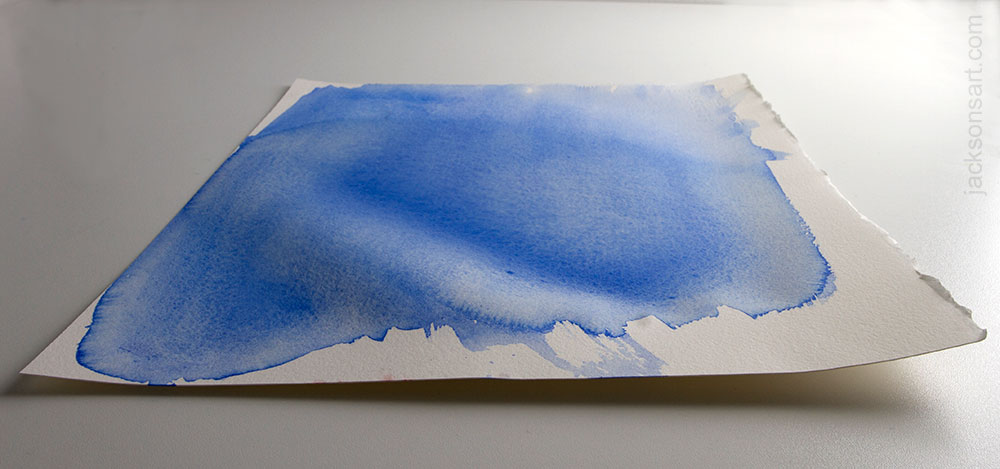
An even wash of blue is ruined by the swelling areas causing the colour to pool in a valley, creating an unintended line of paint.
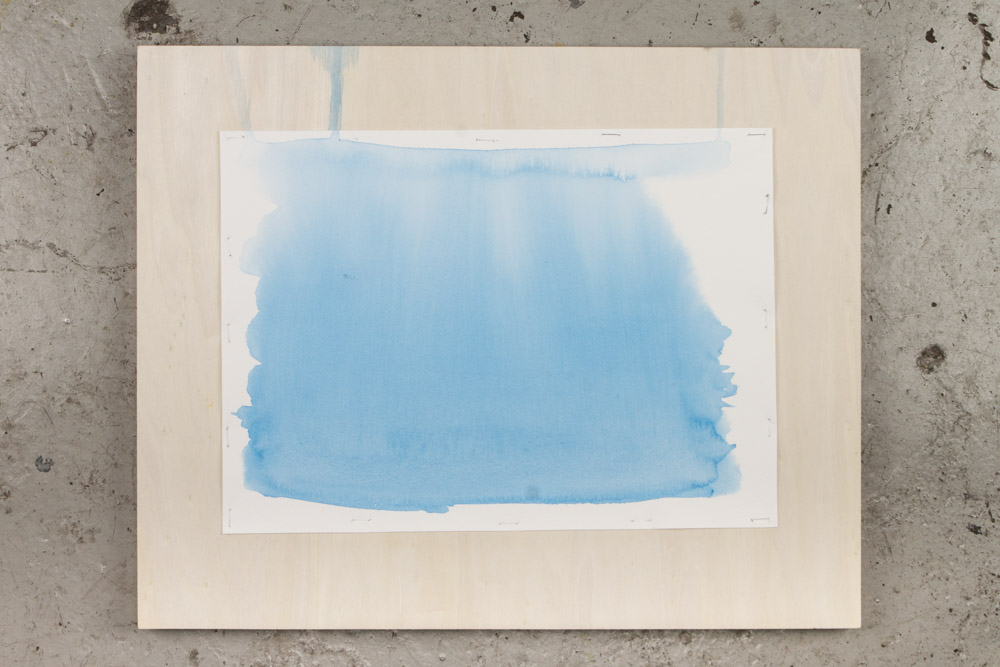
An even wash on this paper stretched with staples stays even and doesn’t pool
because the paper stays flat
Why stretch watercolour paper?
Watercolour paper that is less than 200lb will cockle when it is wet, forming hills and troughs that make it impossible to control the flow of watercolour. Stretching paper involves soaking the paper until it swells, attaching it to a rigid surface and allowing it to dry until it shrinks and becomes taut (or painting right away if you wish to paint wet-into-wet). The taut surface allows you the freedom to paint without battling against the puddles of colour, using as much water as you like.
Attaching the Paper to the Board with Tape or Staples
Boards
Cut your paper about 3cm larger on each side than you wish your finished painting to be, you will lose this amount of paper from the area covered by tape.
Your board should be at least 3cm larger in all directions than the paper you will be stretching.
You will need a strong board that won’t warp under tension. I’ve had good results with both the Jackson’s Wood Boards and Jackson’s Smooth Panels, both used in this article.

Jackson’s Smooth Panels also work great.
If you have old paper tape stuck to the surface, remove it before you stretch. This is easily done by wetting the area with a sponge and scraping the tape off.
Gumstrip Tape
Cut gummed paper tape in advance, 3cm longer than each side, set aside and keep dry (don’t let it get splashed at all). I keep the tape in a plastic bag.

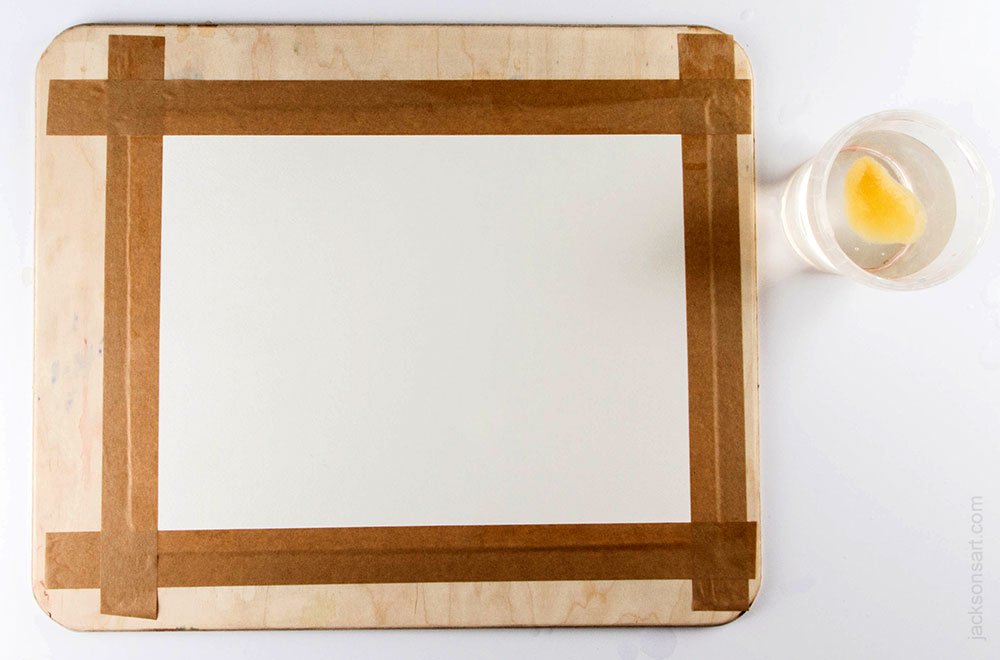
Prepare your gumstrip tape strips in advance and keep them dry.
Soaking
Soak for 5-10 minutes for 140lb paper, more for heavier paper. Each make of paper will be different. You will know that the paper has soaked enough when it feels floppy like wet cloth. You want it to absorb all the water that it can, but if you soak it for much longer it may start to lose its sizing. Watercolour paper has a sizing added (gelatine or gelatine substitute) that keeps it from being too absorbent. If it were as absorbent as blotting paper your paint would sink down inside and not sit brightly on top. If you soak your paper for too long you may remove the sizing on the surface and make your paper too absorbent.
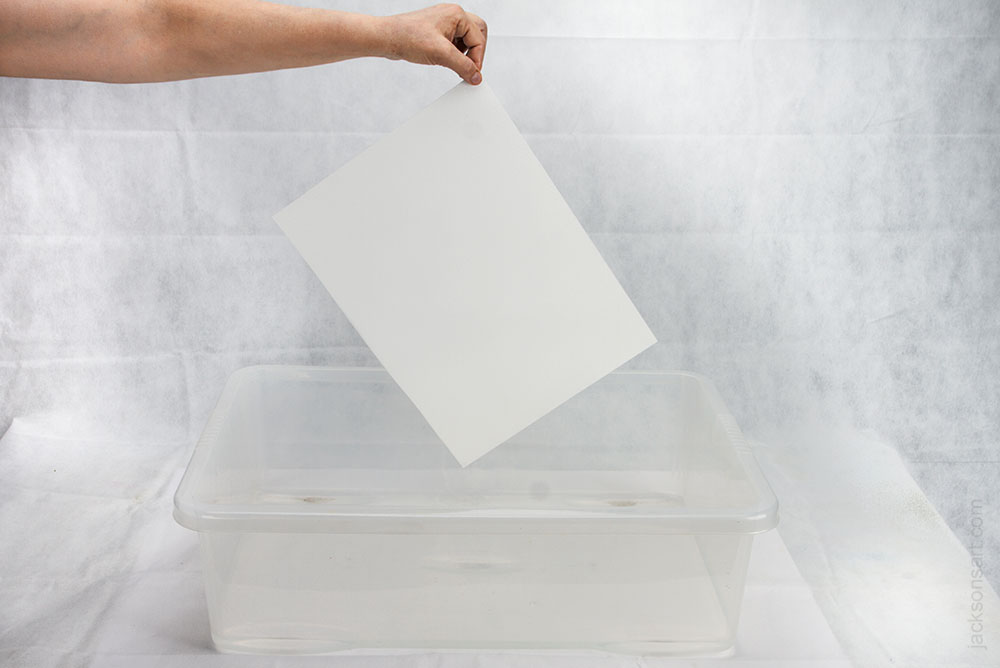
Soak large sheets in a bathtub that has been well cleaned as soap residue can cause spotting on your paper. Soak smaller sheets in a large flat plastic tub. If you have no way to immerse your paper you can wet it with a sponge and keep wetting it and turning it over, but this method will take up to 5 times as long for the paper to become fully wetted.
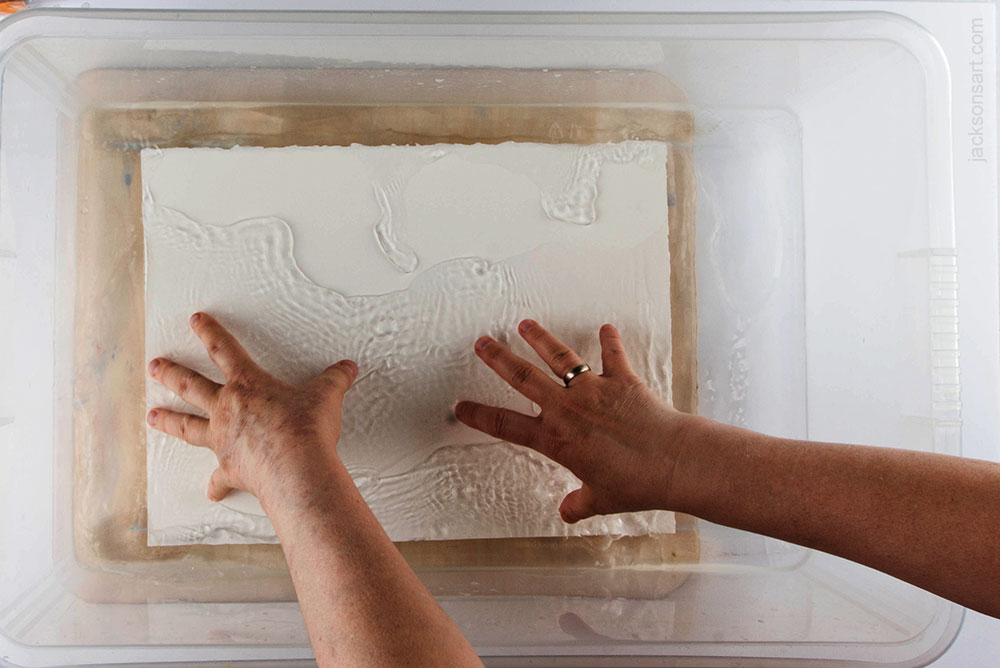
Immerse a smaller sheet in a flat tub of water to soak.
Taping
Wet your board evenly.
Remove the paper from the water and hold by one corner to allow much of the water to drip away. Take your paper to your wet board. Bow the paper in half to create a gentle roll in the centre and line this centre up with the centre of your board. Lower the paper and drop it, centre first. You do not need to rub it down, it will lay itself well against the board. If it doesn’t land in the centre pick it up and bow it and try again. If you have large air pockets raise just that corner and release them, but small air pockets will not matter. Wet your prepared strips of tape with a sponge, but do not wet so much that you wash away the gum. I use a small sponge that I squeeze most of the water out of, in one hand I pinch the tape and sponge together and then pull the tape through. Your tape should not be dripping. Then, holding the tape evenly over the whole length lower the tape strip all at once to the edge of the paper, half on the paper and half on the board. Gently run your fingers around the edge to make sure all the air bubbles are removed but trying not to stretch the tape.
Caution: If the tape looks like it is not sticking well do not be tempted to run a wet sponge over the top of the tape as this will insure that your tape fails, it seems to remove the glue.
Remove the paper from the water by one corner and shake to see if it feels floppy like wet cloth. Then allow much of the water to drip away.
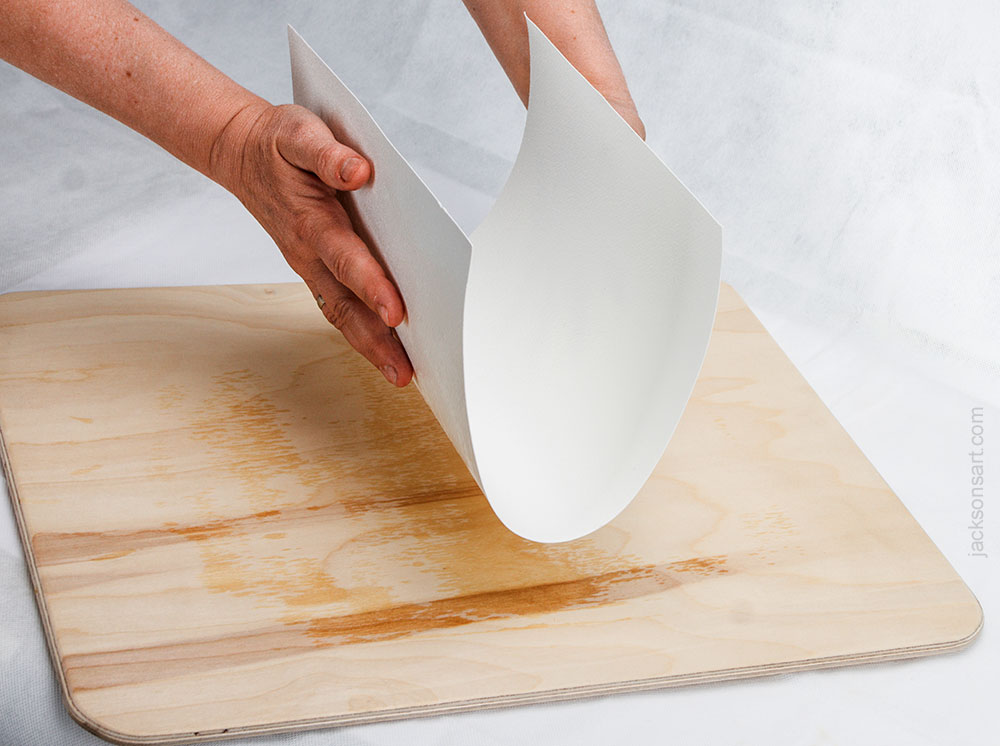
Bow the paper in half to create a gentle roll in the centre and line this centre up with the centre of your board.
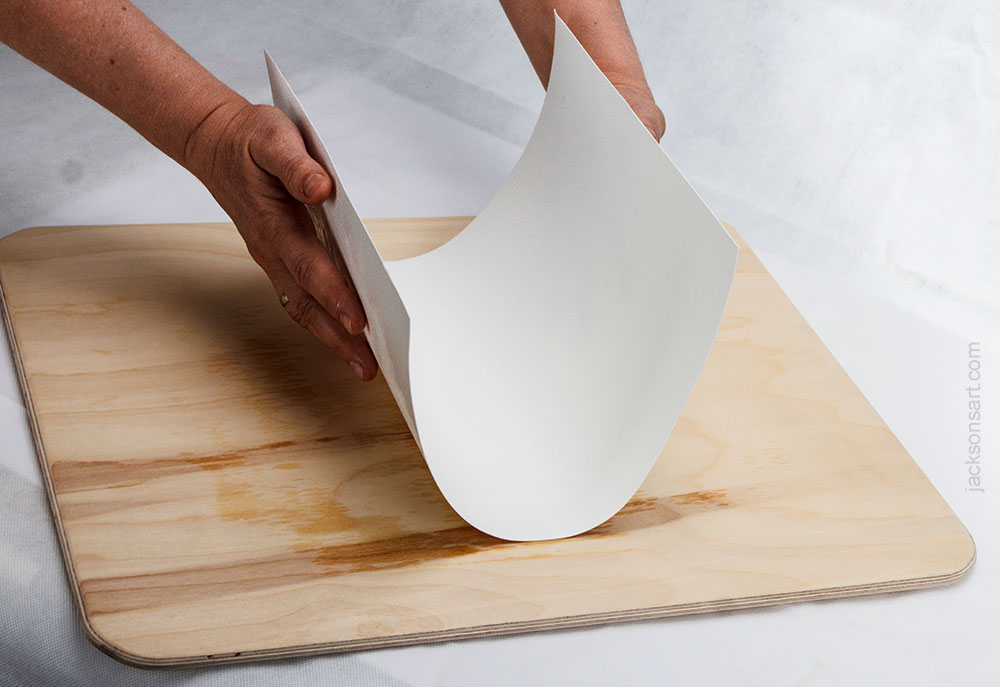
Lower the paper and drop it, centre first.

You do not need to rub it down, it will lay itself well against the board.

I use a small sponge that I squeeze most of the water out of, in one hand I pinch the tape and sponge together and then pull the tape through.
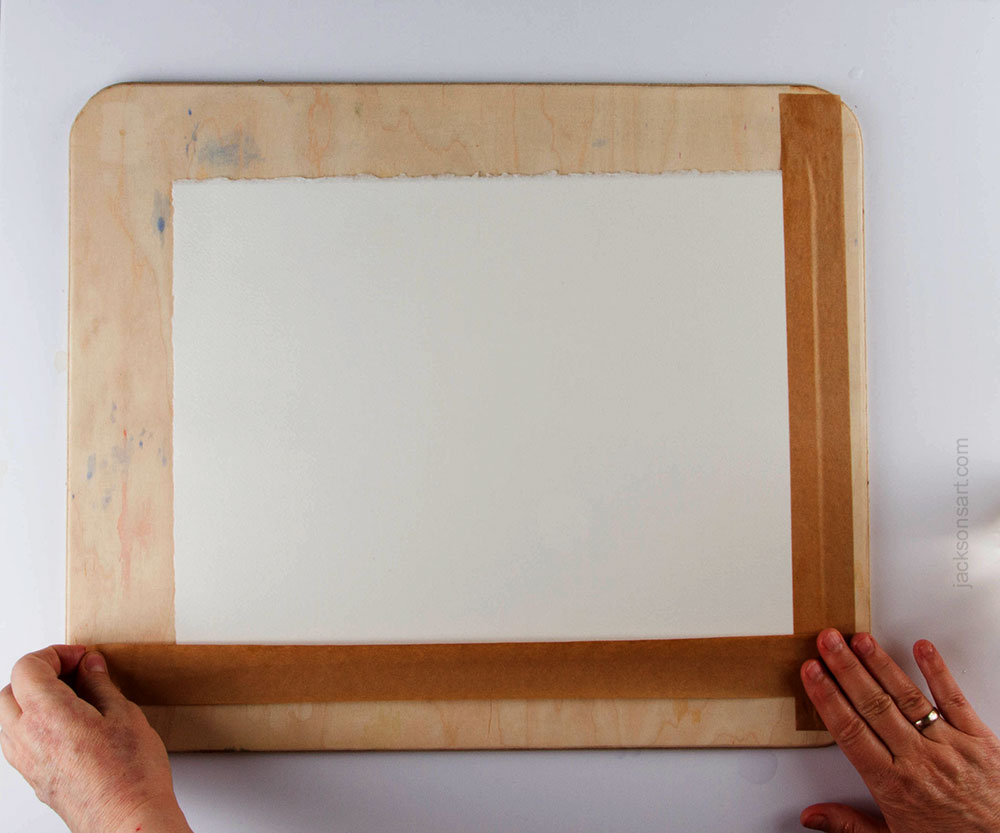
Holding the tape evenly over the whole length lower the tape strip all at once to the edge of the paper, half on the paper and half on the board

If the tape looks like it is not sticking well do not be tempted to run a wet sponge over the top of the tape as this will insure that your tape fails.
Caution – Tape Dripping
Be sure not to drip water from your tape onto your paper as this will leave spots on your paper where the paint will not stick. (You may have noticed spots on your paper in the past and thought the paper was faulty.)

Gummed tape drips that were invisible on the paper show up when you start to paint.
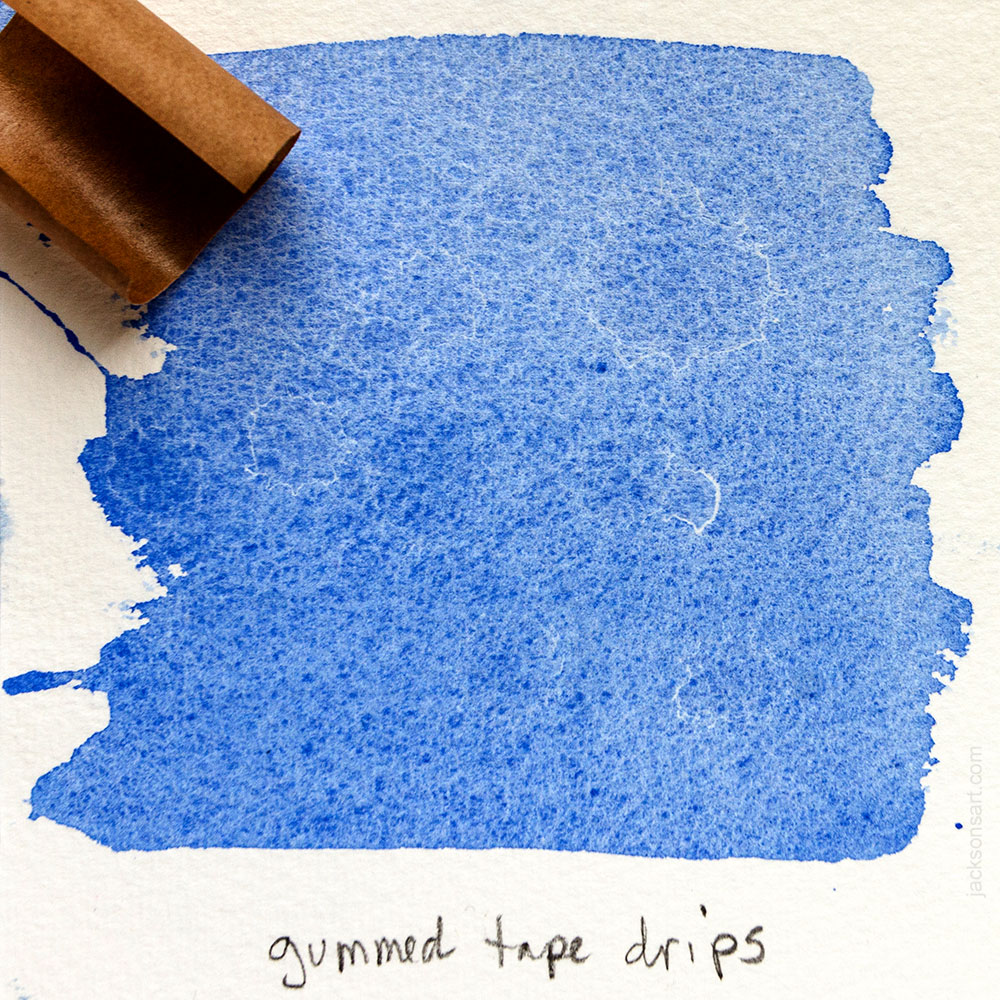
The gum drips act as a resist and spots show up under the paint.
Drying
Leave to dry completely, probably overnight or a day. This is the only downside – you need to prepare your stretched boards ahead of time. You can blot the whole surface pressing with a gentle downward motion (no rubbing!) using a folded bath towel or pile of kitchen roll, being very careful not to shift the tape at all. Dry your board flat, not tilted on its side which would make it dry unevenly as the water runs to one end, unless you rotate the board around every 5 minutes or so. It can also pool water under your tape and remove the glue. Speeding drying with a hair dryer causes the same problem, uneven drying. You want even tension, so no area will pull loose. So be patient.
During this process your paper has swollen and grown larger by a few cm. As it dries it is shrinking back to it’s original size and pulling on the tape. If you use a hair dryer and cause one area to dry faster it will shrink and pull loose the tape of the part that is still damp. The success of paper stretching is a result of the right amount of water and even drying. With practice you will figure out how wet you need your board to be and how wet you need the tape to be and the best way to insure even drying.

Dry flat, do not rush it, be patient.
After you have painted – and your painting is dry
To remove the painting from the board you will want to pierce the tape and slide a knife around your painting to leave half the tape on the board and half on your painting. You can cut along the edge of the paper and lift it off the board. Most artists leave the tape on the painting as it will be hidden under the mount when you frame the painting and wetting the tape to remove the adhering tape might damage the artwork. The tape edge also adds stability. White tape acid-free tape is available if the brown bothers you. And archival gummed tape is safest for leaving on your paper.
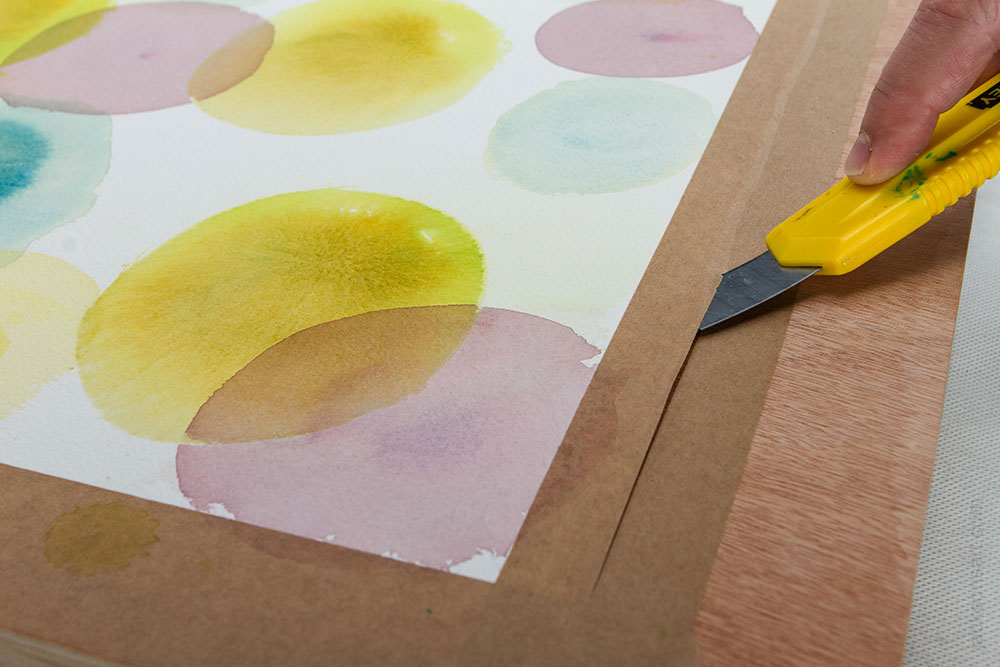
Simply cut along the edge of the paper and lift it off the board
Attaching with Staples
Another option is to staple your soaked paper to the board. It is faster and not prone to the tape failure caused by too much or too little water or a stretching or shifting of the tape when applying. It also leaves marks but they can be nearer the border so you lose less paper. It is a good choice if the board you have is the same size as your paper, not allowing the border needed for the tape. The only drawback is that is seems to hold the paper less tautly, but it is so much better than unstretched paper and is foolproof. I used an office stapler with good results. A staple remover saves sore fingers when you come to remove your dried finished painting.
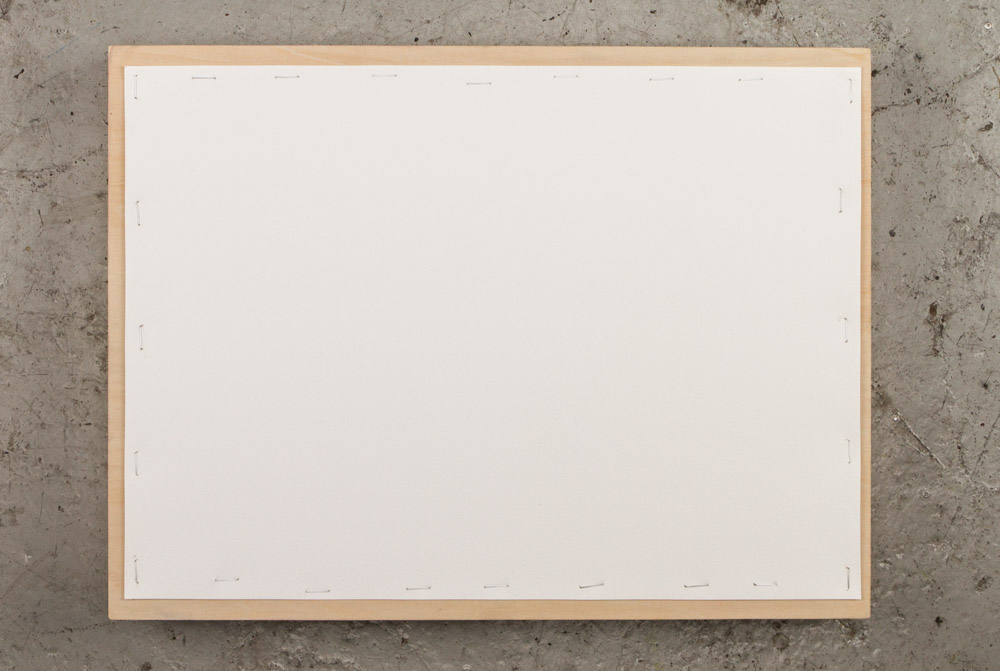
Another option is to staple your soaked paper to the board.
Paper Stretcher
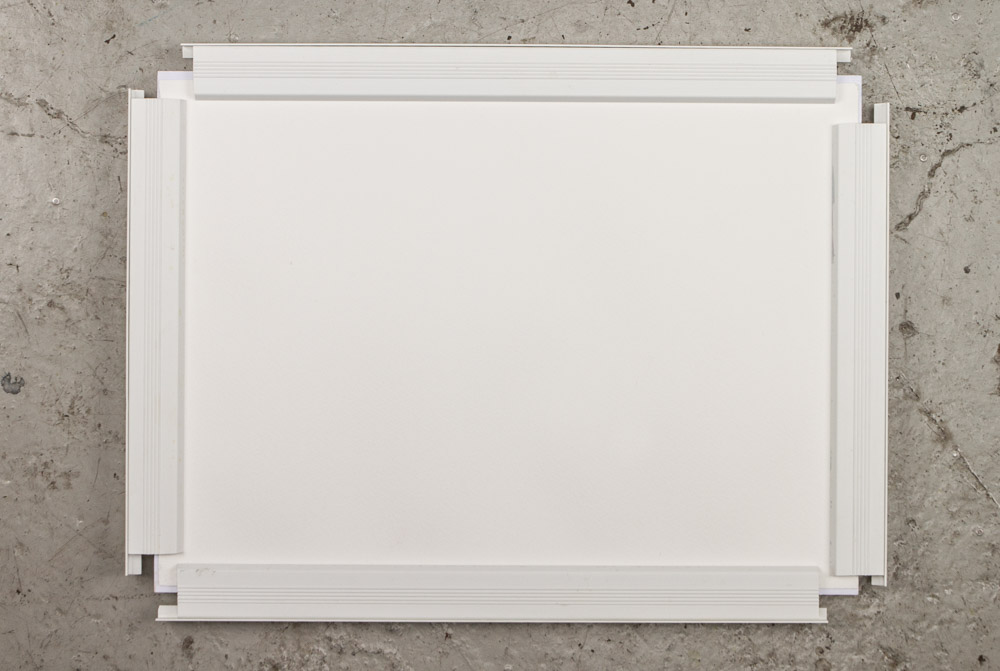
An alternative to using gummed paper tape or staples is to use a paper stretcher.
Paper stretchers use clamps to hold the soaked paper to a board. These come in specific sizes and your paper must be trimmed to fit, a few mm less than the board so that it is not larger than the board when soaked, as the paper swells. These work well, although they don’t save any time because attaching the clamp bars takes the same amount of time as applying the tape. A benefit is that there is no tape on the border, though there is a crimped edge to the paper . A drawback is that you must use the size of paper required.
Trim your paper to about 5mm smaller on two sides than your board. Soak as usual and drop on the board. This is a little more fiddly as you don’t have room for error because there is no border.
Then slide the clamp bars on while holding down the corner of the wet paper. Then tamp in the tightening strips.
After the paper is dry and after you have painted and the painting is dry then remove the clamps. Notice the crimped edge of the border that will need to be hidden under a mountboard. Your clamps will probably need a wash before you use them again as paint can get inside and might cause problems with your next painting.
Alternatives
- If you wish to avoid stretching paper but you wish your surface to remain flat you can use heavyweight paper, over 200lb, or watercolour board (watercolour paper adhered to board).
- If your style of painting uses very little water you will have less cockling and might get away without stretching your paper.
Heavyweight paper and watercolour board do not need stretching
If you use very little water you will have less cockling
If you master the simple art of stretching watercolour paper you will find it takes little time and make a huge difference to your painting experience.
Click on the underlined link to go to the Watercolour Paper Department on the Jackson’s Art Supplies website.
Postage on orders shipped standard to mainland UK addresses is free for orders of £39.
The post Stretching Watercolour Paper for a Better Painting Experience appeared first on Jackson's Art Blog.


